Using the Ikea Home Planner Tool: Tips and Tricks
Ikea’s own kitchen / home planning tool is a bit of a necessary evil. It can be frustrating to use, but with some tips and tricks, you can typically coax it to give you the results you need. Here we will give you what we’ve learned after more hours of use than we’d like to admit
#1: Save often
Just like the adage from computer systems of the past, it’s a good idea to save often. Despite the fact that Ikea’s tool is a hosted service, it does not in fact autosave as you make changes. And it will almost certainly crash on you at some point during your project, so having a regularly saved plan will make you life much more enjoyable. Our recommendation: try to save every 15 minutes, or just before making a big change.
#2 Use the “Save As” feature
Again, nothing like dusting off the terminology from computer labs 20 years ago, but yes, the Save As command can be a useful one for experimenting with (forking) your design. For example, if you are curious what it would look like to completely rearrange a wall of cabinets, rather than making the change, then having to rearrange everything should you decide you don’t like it, just make a new copy via “Save As”, then make your changes there. If you like it, great, continue on with the new version. If not, no big deal, just close the design and reopen the original design. This is a helpful trick, just make sure you label your different copies so you don’t create too much confusion for yourself.
#3 Create a Sandbox
A well known tool in the software developer world, a “sandbox” is an environment that can be used for testing and experimenting, with minimal consequences to the “real” stuff. In the case of the Ikea Planner, having a design that is labeled “sandbox” and treated similarly is a nice tool to use for experimenting with different ideas that you don’t want to commit to your actual design. For example, we often wondered how different corner cabinets could come together, so in the sandbox design, we could easily drag and drop different Sektion bases and see how they all fit together. Low pressure, fast and easy. Make a sandbox; trust us here!
#4. Reposition items to solve bugs
We can’t explain why, but often the Ikea Home Planner will pop up with errors or warnings that items are positioned incorrectly or in an incompatible location, even if we are certain that nothing moved. Again, we can’t explain why these things pop up. But we have found a way to relatively quickly resolve this is by simply dragging a few items ever so slightly. In other words, if the planner throws a warning, just drag the offending item over a bit, then back to where you actually want it, and then drag the adjacent items into position as well. More often than not, this seems to make everything happy again.
#5. Drop in your actual appliance dimensions
Having the actual dimensions of the appliances you expect to use in the planner is a very good idea. And many people are of the belief that you must use the Ikea appliances in your planner, even if you don’t plan to use Ikea’s appliance offerings. But in truth, you can add custom dimensions for any appliance! Just navigate to Kitchen and Appliances > Appliances > Existing Appliances > Resizable XYZ. You can pick a range, fridge, washing machine, dishwasher, hood, etc. And for each, you can customize all the dimensions, so you’ve got the correct size in your plan. This is a huge help when planning fillers / spacing/ and openings.
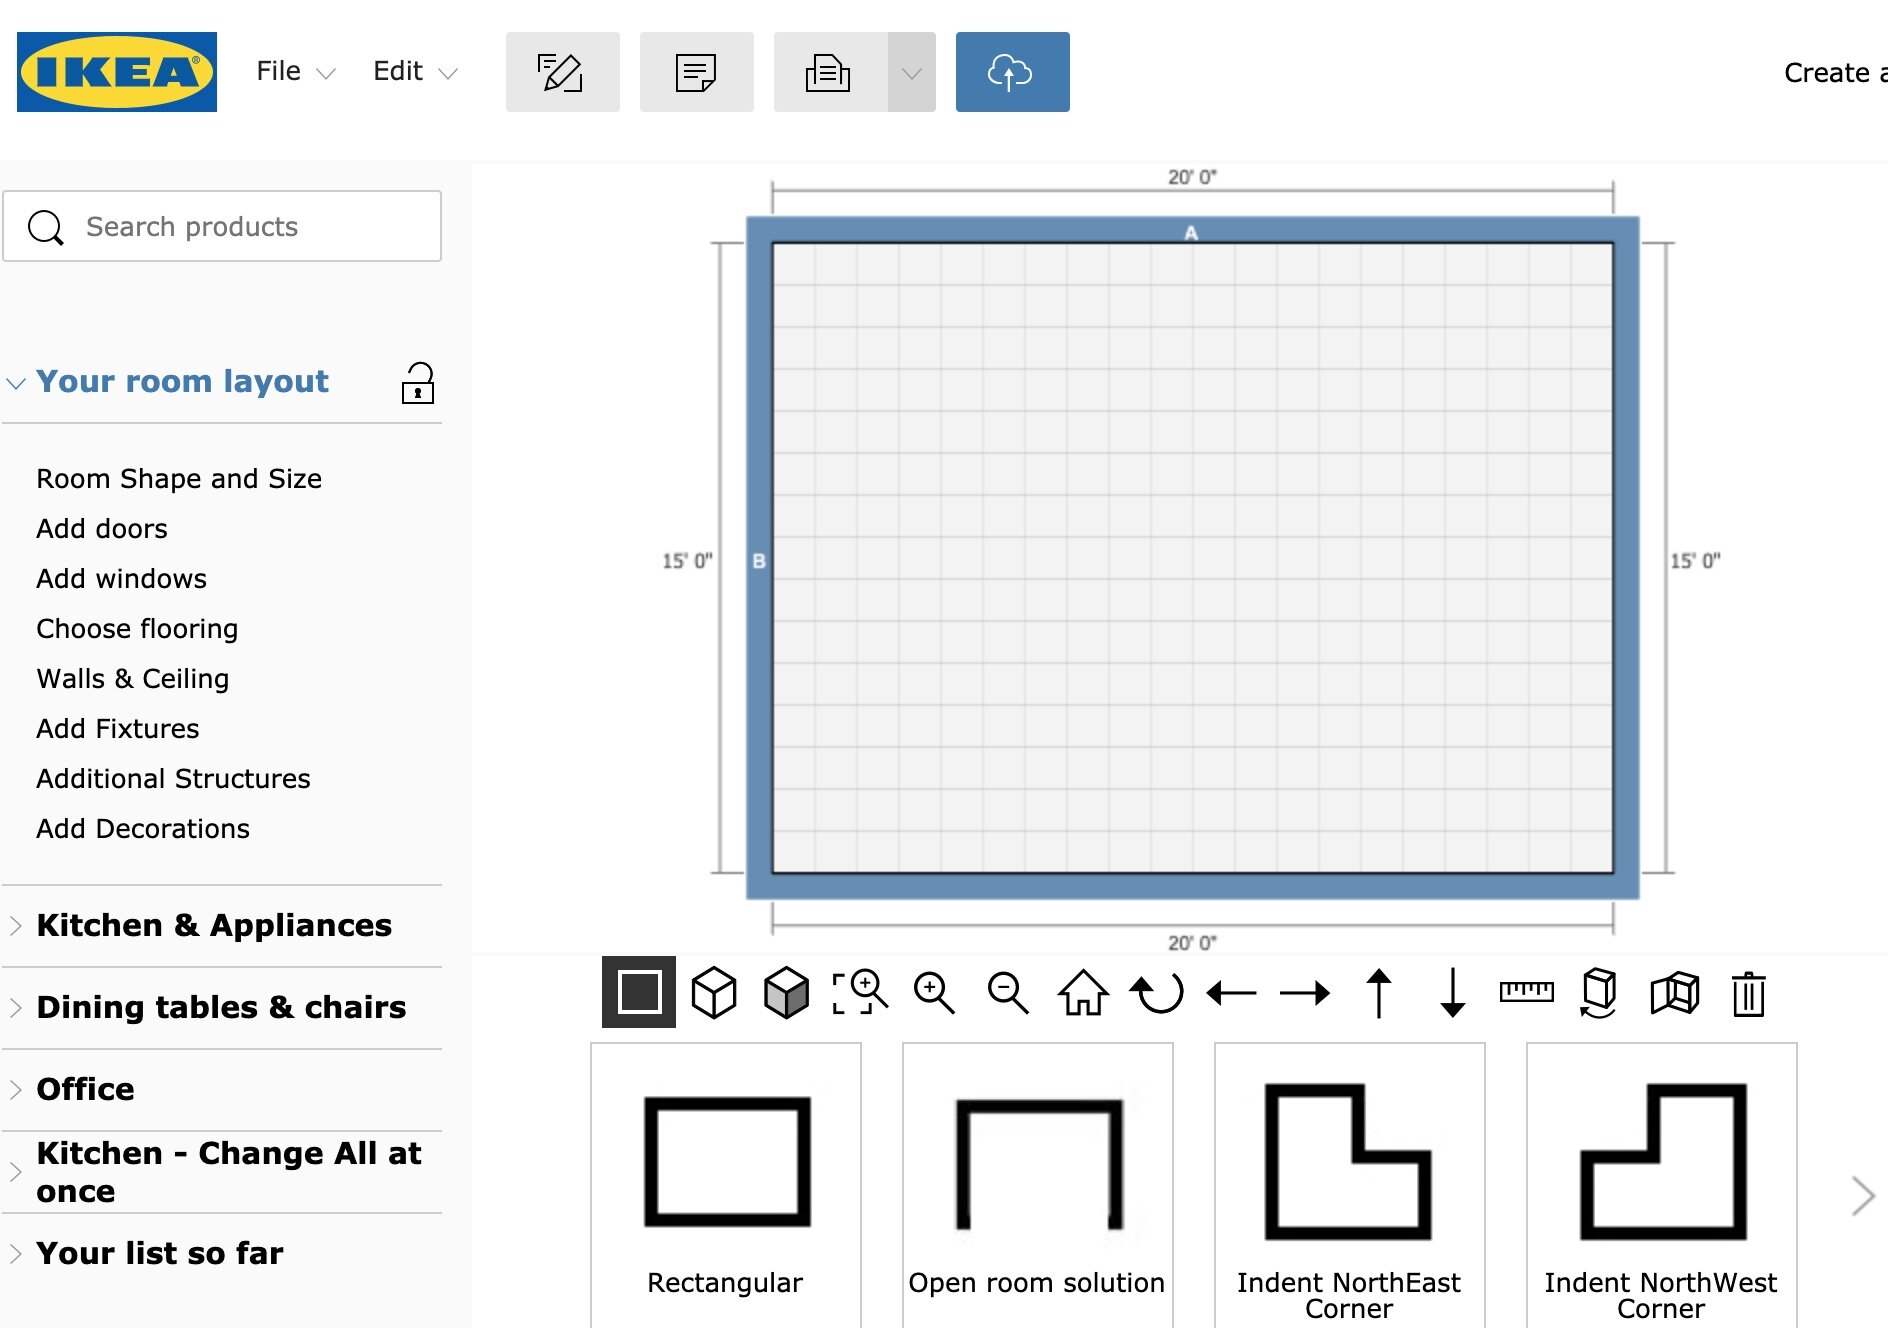
#6 Adjust room sizes
This one is towards the bottom of the list since most people have a handle on it, but just in case, it’s worth mentioning that every room in the planner can be customized to match the dimensions of the room you plan to work with. Updating this is quick, and in most cases a helpful check to make sure that the layout you plan matches the reality of your floor plan. And keep in mind that you’ll want to account for finished wall dimensions and floor heights (i.e. the dimensions after drywall in hung, and final flooring installed, and trimming that may be in place before cabinets).